Microdose Bros Presents: The Enchanted Art of Cultivating Magic Mushrooms (Psilocybin Cubensis) Grow Kits
Step 1: Prepare a Sterile Workspace
Action: Disinfect all surfaces, thoroughly wash your hands up to your elbows, and wear sterile gloves. Make sure the room is clean and free of dust to protect the mycelium from contamination.
Explanation: Cleanliness is essential to avoid contamination from bacteria or mold, which could ruin the growth.
Step 2: Soak the Kit (Cold Shock)
Action: Remove the lid from the grow kit carefully, fill the kit with clean (distilled or pre-boiled) cold water. Once the kit is filled with water, close the lid and place it in the fridge for 12-24 hours. After soaking, remove the lid and drain off any excess water. This “cold shock” helps stimulate the mushrooms to start pinning (small mushroom growths).
Explanation: Soaking mimics the natural rain cycle, rehydrating the mycelium and encouraging it to fruit.
Step 3: Create a Humid Environment
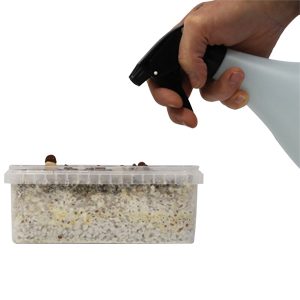
Action: Place the grow kit inside the grow bag provided with the kit. Take a spray bottle filled with clean water and spray the inside walls of the bag. Fold over the end of the bag, making sure enough air is trapped inside, and close it using the paper clips provided. Open the bag only when the walls have dried out, and briefly mist them again.
Explanation: Mushrooms require high humidity to thrive, as it mimics their natural environment. Too little humidity will dry them out, and too much can lead to mold.
Step 4: Control Temperature & Light
Action: Keep the temperature between 22-26°C (72-79°F). If you’re using a heat mat, ensure there’s no direct contact between the kit and the mat. Place the kit where it gets 12 hours of indirect light daily. A natural daylight cycle is ideal.
Explanation: Psilocybe cubensis grows best in warm, stable temperatures and indirect light.
Step 5: Monitor Growth
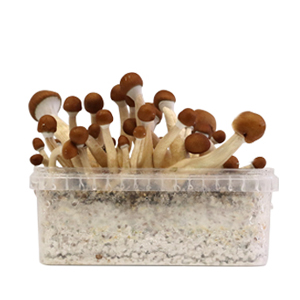
Action: Within 1-3 weeks, small mushroom pins (baby mushrooms) will start forming. Once the mushrooms start emerging, they will grow rapidly. Keep a close eye on them, as they will mature within just a few days.
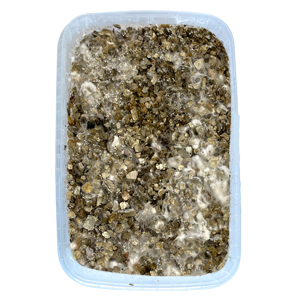
Explanation: This is when you monitor the mycelium for healthy growth. Healthy mycelium should appear bright white and spread evenly across the substrate. Watch for tiny, white or brownish bumps (pins) as an early sign of mushrooms forming.
Step 6: Harvest the First Flush
Action: For mushrooms, use a sterile and sharp knife to cut the mushroom stems at the base, removing all parts of the stem from the substrate.
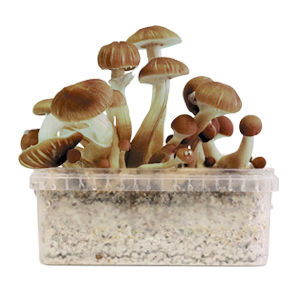
Explanation: Mushrooms are ready to harvest when the veil under the caps starts to become see-through and starts tearing. The cut part of the stem will turn blue, which is oxidation and is a sign of healthy mushrooms! It’s important not to leave any pieces of the stem behind in the substrate, as they can rot and potentially cause contamination.
Disclaimer: Alternatively, you can gently wiggle and twist the mushrooms to remove them from the substrate. However, be aware that this method may disturb the mycelium and potentially reduce future flushes by damaging the substrate.
Step 7: Dunk for Second, Third, or Fourth Flush
Action: After harvesting the first flush, you can repeat steps 1 through 6 to get up to 2-4 flushes.
Explanation: Rehydrating the mycelium after the first flush helps it produce more mushrooms. Eventually, the nutrients in the substrate will run out, and growth will stop, but rehydration allows for multiple flushes before that happens.
Step 8: Enjoy
Congratulations on successfully growing your magic mushrooms!
We hope you enjoyed your Microdose Bros grow kit.
We’d love to hear about your experience—please consider leaving a review to help us improve and reach more people. If you’re looking to dry your mushrooms, check out our drying guide!